Customize tips
7 Steps to Complete Clothing Design in 2023
Nov
Ultimate Guide to design your custom shirt
Frequently, customers ask about which software to use when designing, class tee, uniforms, Jersey, or group outfits. Some may not even know how to use any software, so we have specially created an online design software for everyone. No software or mobile app downloads are required, just a few simple steps on your mobile or computer to get a design that meets your requirements
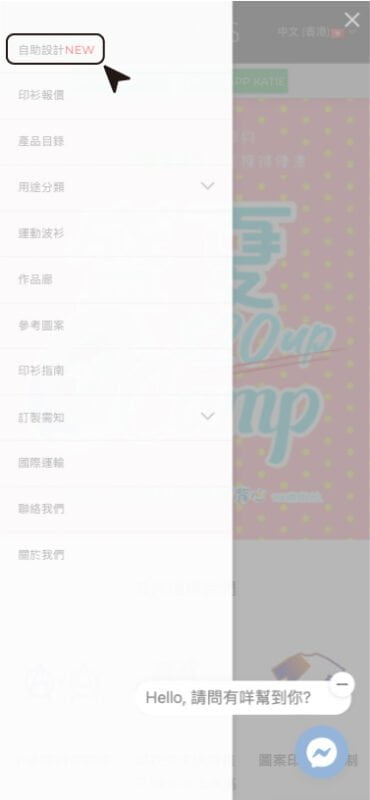
1.Go to our Design platform
Everyone can open the MENU BAR on the top left corner of our website and select the first option, “Design Tool”, to open the clothing design page.
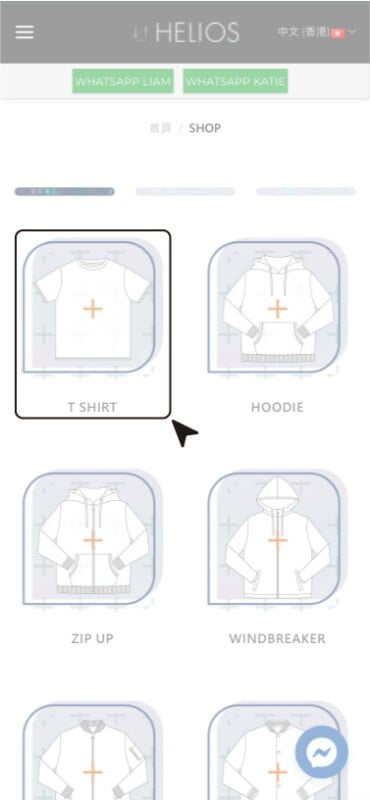
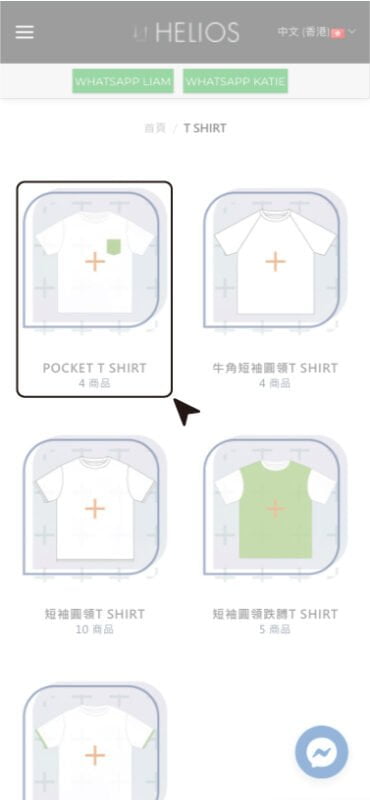
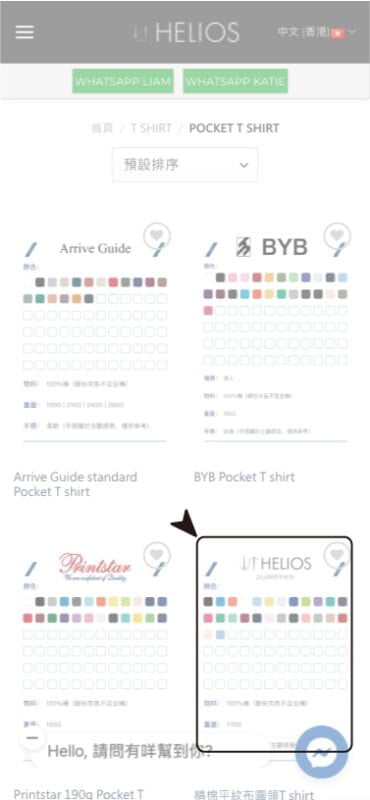
2. Select the type of product you need to design, style, and fabric.
After opening the page, various products will be displayed. You can select the type of clothing you need to customize. After selecting the required category, you will see different styles and designs. Each garment will have different details. After selecting the garment, customers will see different fabric options. Different fabrics will differ in quality and color. Customers can choose different combinations according to their personal preferences.
3. View clothing design and add different elements to the clothing.
At the top of the design page, there is a gray-black MENU BAR. Customers can choose the elements you want to add, such as different fonts, designs, numbers and names that they have created, or even choose from our pre-designed graphics for further modifications.
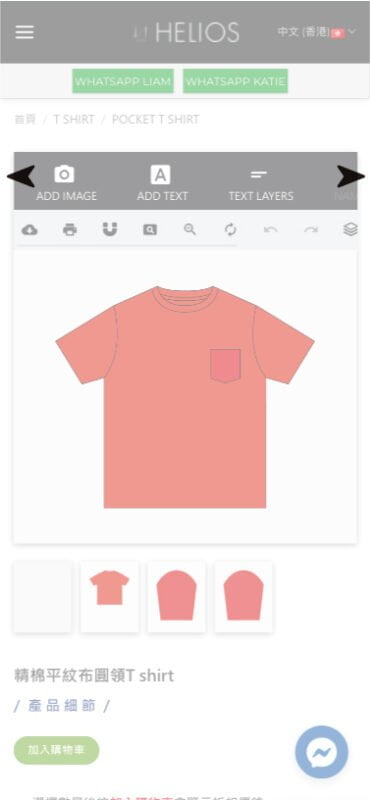
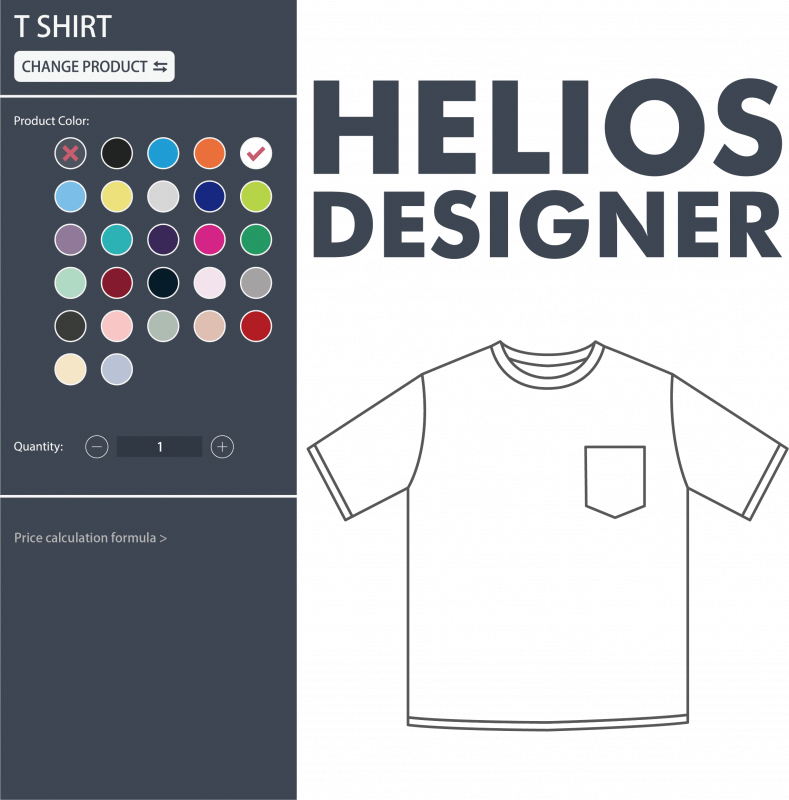
4. Change the color of the clothing.
As mentioned above, different fabrics will have different colors. Customers can choose from different colors to match your preferred clothing color. To change the color, simply click on the part you want to change, and you’ll see a color block in the bottom of the screen. By clicking on the color block, you’ll have the option to choose from different fabric colors.


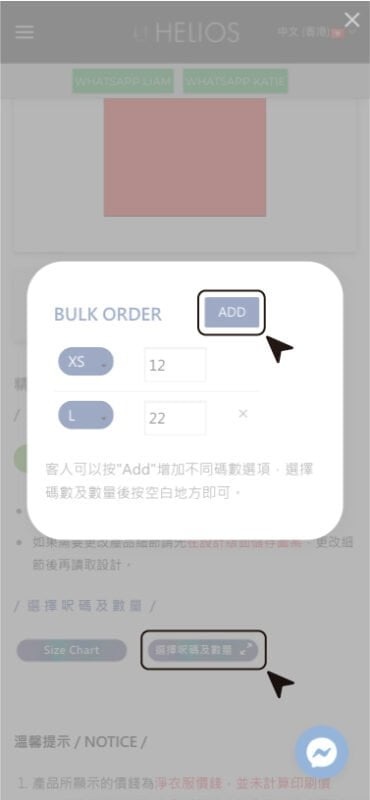
5. Choose different quantities and sizes.
The next step after designing your clothing is to select the size and quantity. If the size is not yet confirmed, you can choose the quantity first for quotation purposes as the quantity directly affects the price of the garment, the more you order, the more affordable it becomes. Customers can click the button for selecting size and quantity and then choose different sizes and corresponding quantities inside.
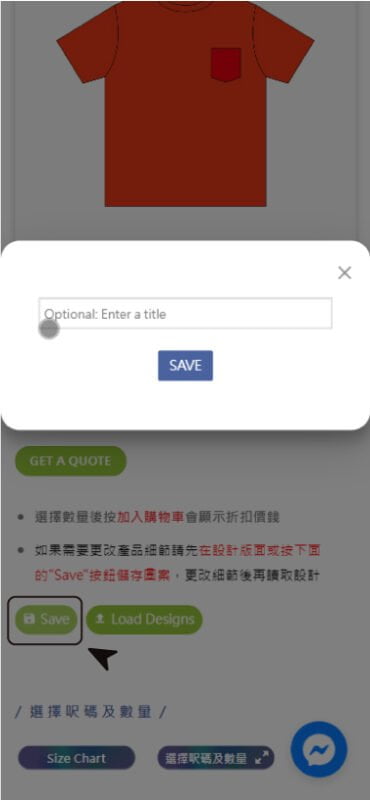
6. Save and Load Design
When you are designing a shirt and suddenly have something to do or need to leave for a while, you can simply save your design by clicking the “Save” button on the design page, and then give it a new name. If you need to retrieve your design later, just click the “Account” button at the top and select “Saved designs”.
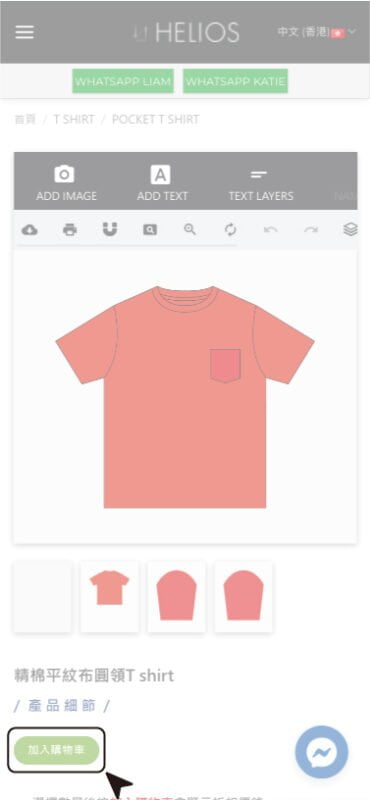
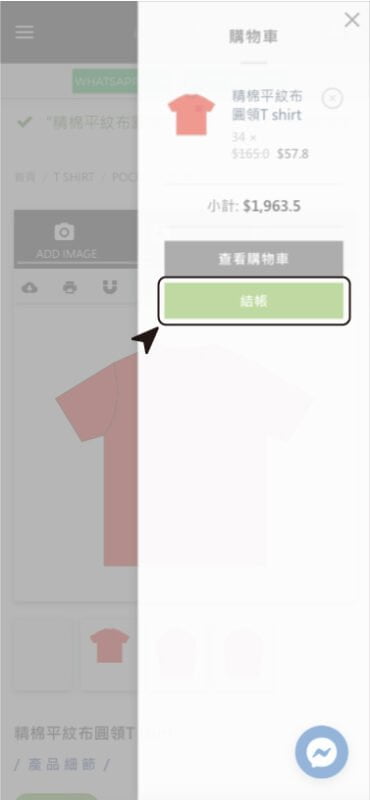
7. Submit Design
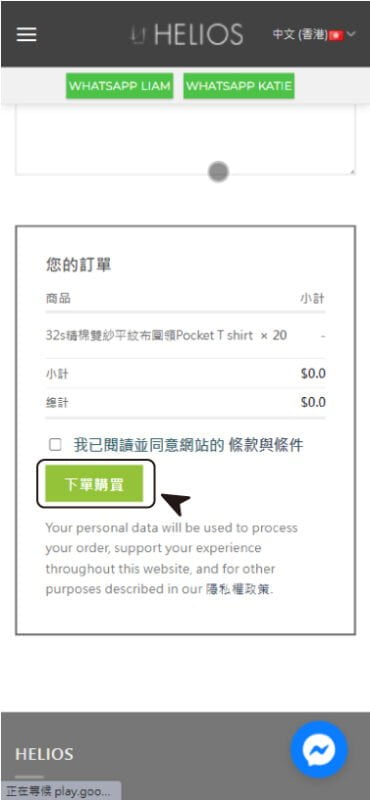
Once the customer has completed their design, they can submit it to us for a quote. The customer can click on “Add to Cart/Get a Quote” located below the design software, and then proceed to checkout in the shopping cart. After filling in their basic information, they can place the order and submit the quote.